
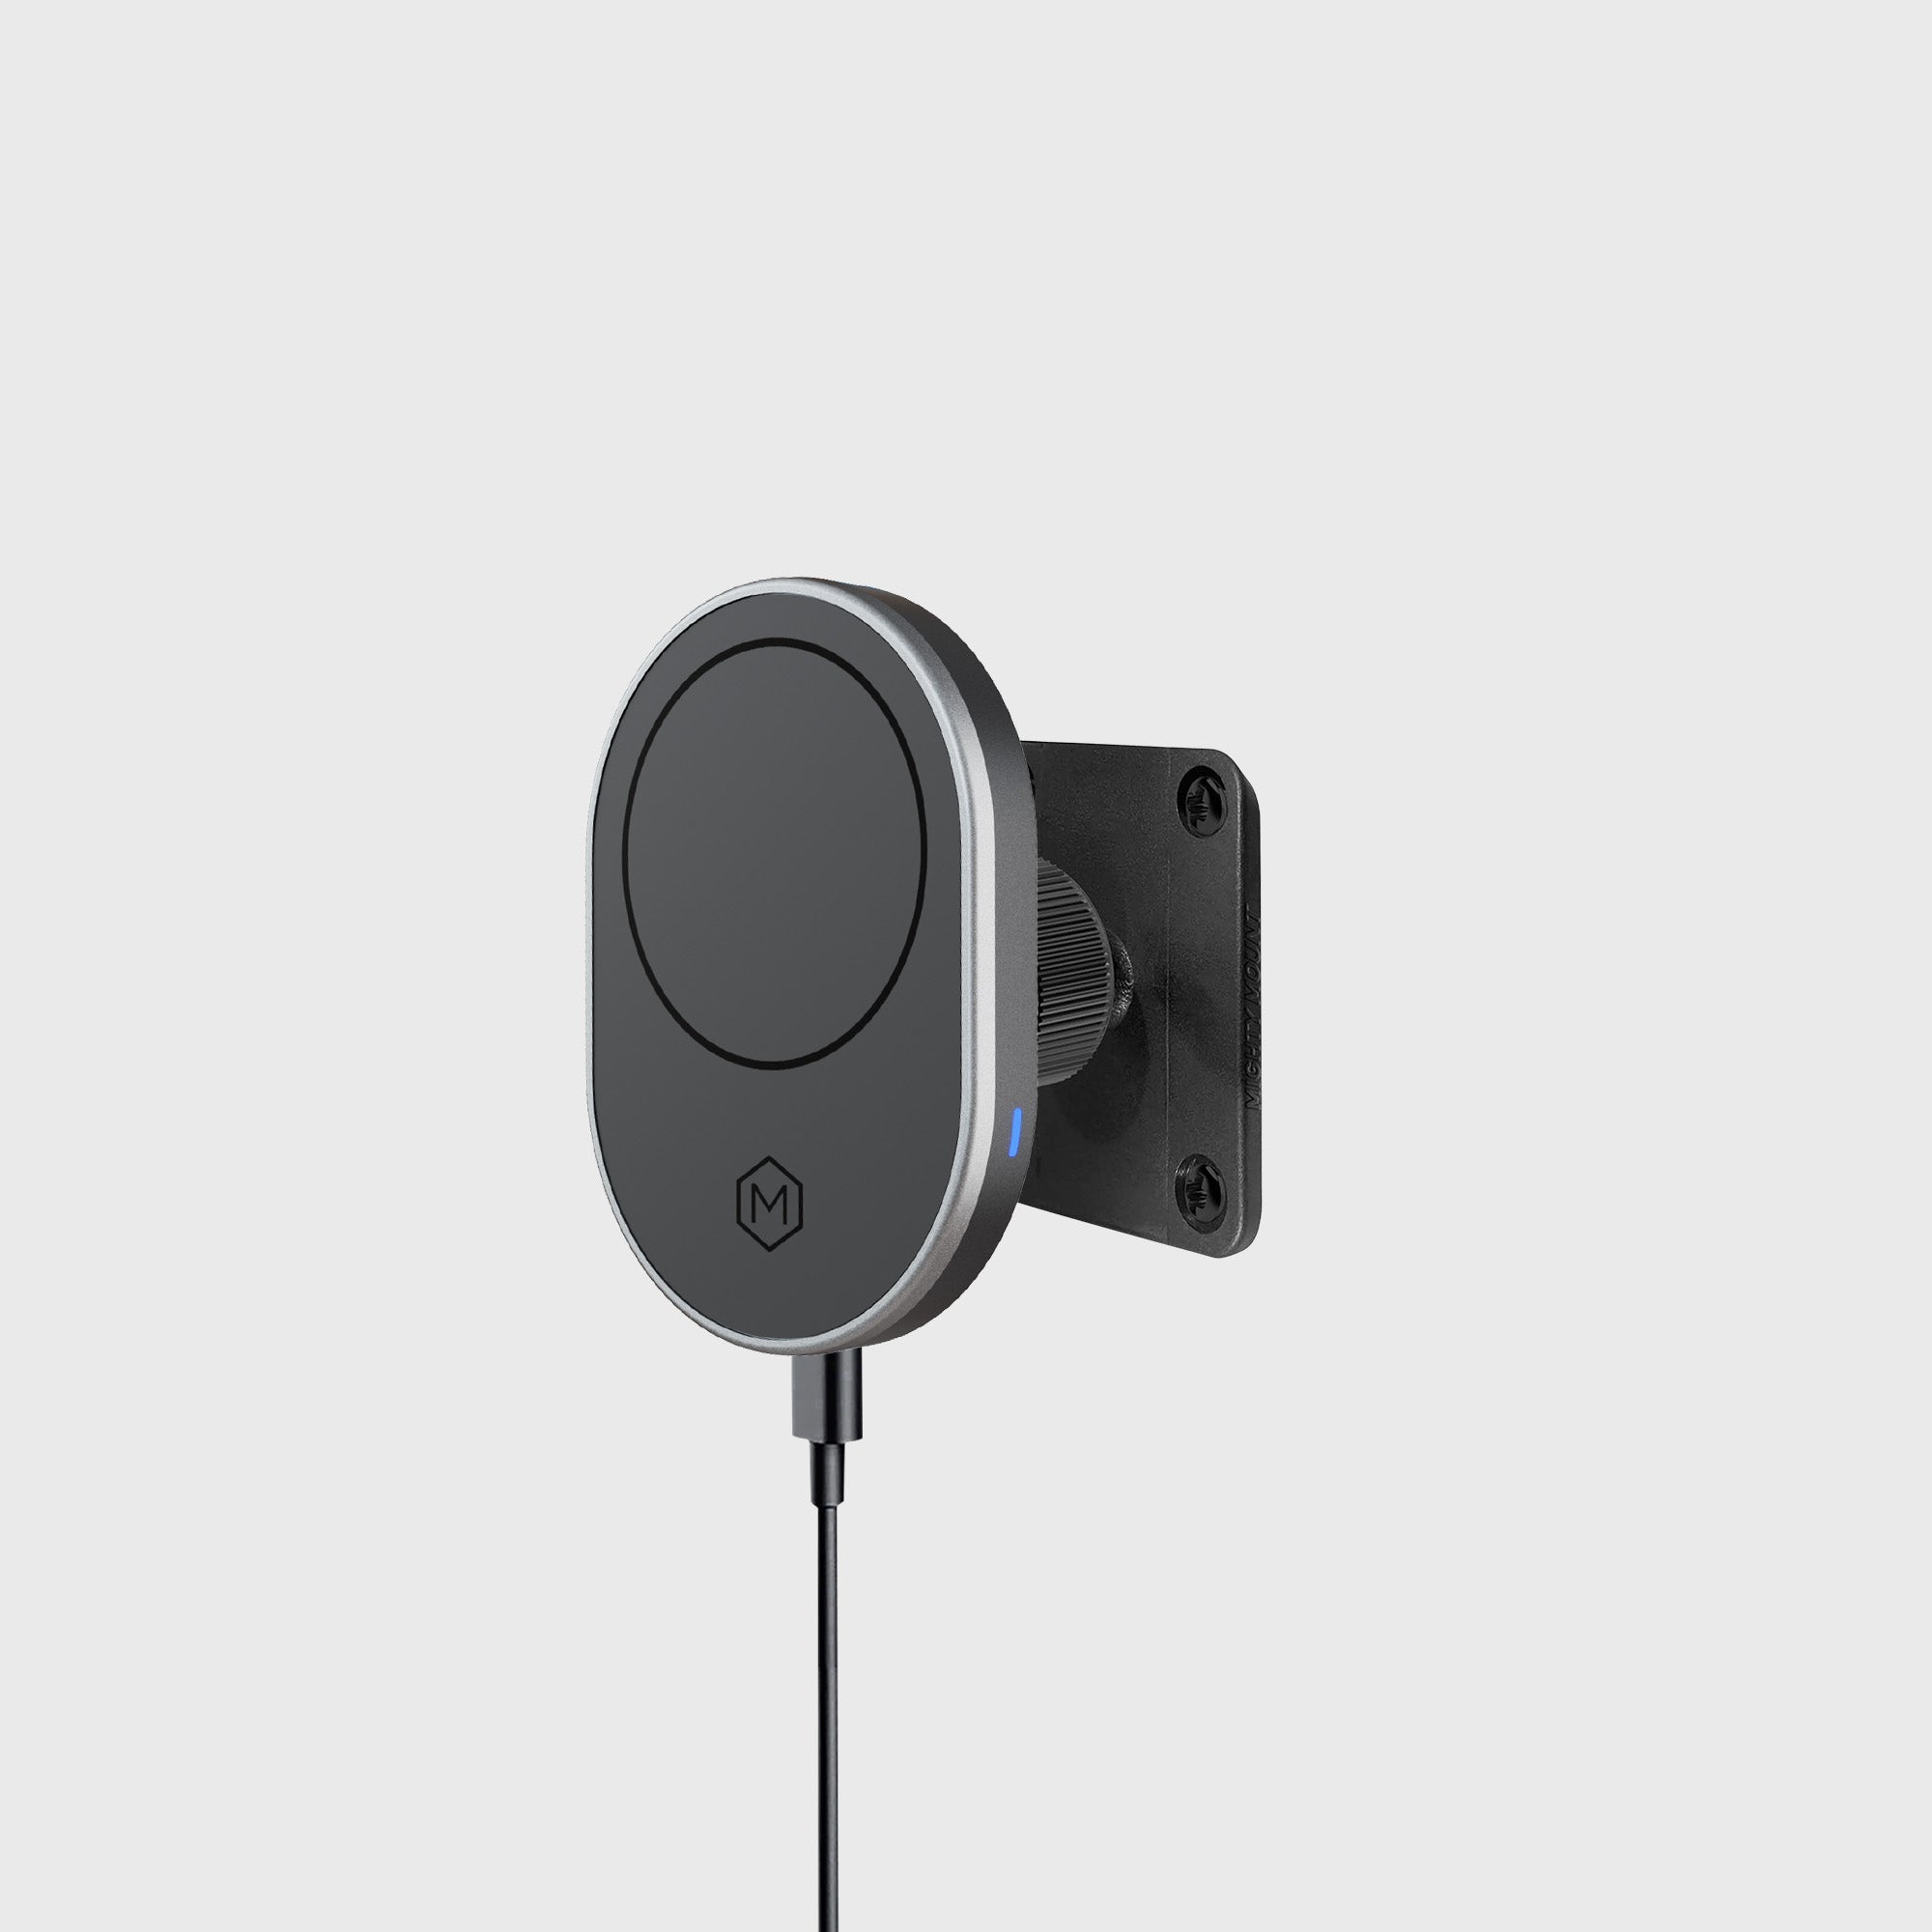
An AMPS drill base mount gives your phone or tablet a permanent, professional mounting point on a dashboard, console, work truck panel, or other solid flat surface. Instead of relying on temporary suction or adhesive, the four-hole AMPS plate is secured directly to the vehicle or workstation for dependable stability during daily use.
Mighty Mount designs AMPS mounting systems for demanding environments, including fleet vehicles, delivery vans, logistics trucks, field-service vehicles, and personal cars. The installation is straightforward: choose a safe location, mark four holes, drill pilot holes, secure the plate, attach the mount head, and adjust your device for the clearest view.
This guide explains how to install an AMPS drill base mount safely and accurately.
What Is an AMPS Drill Base Mount?
An AMPS plate is a standardized four-hole mounting base used to attach phones, tablets, GPS devices, radios, and other equipment to a flat surface. The typical AMPS hole pattern measures approximately 30 mm × 38 mm from hole center to hole center.
Most AMPS drill base products arrive with the mounting holes already formed. You do not need to drill the AMPS plate itself. You only need to use the plate as a template, drill the matching holes in your chosen surface, and secure the base with suitable screws or bolts.
Mighty Mount’s AMPS ecosystem includes:
- Simpl Cradle AMPS Phone Mount for universal phone compatibility.
- MagSafe Wireless Charger AMPS Phone Mount for MagSafe-compatible phones and up to 15W wireless charging.
- AMPS Drill Base iPad and Tablet Holder for larger devices used in work vehicles, trucks, and fleet operations.
Tools and Hardware You Will Need
No special tools are required beyond standard drill hardware. Before beginning, gather:
- AMPS drill base mount and included hardware
- Power drill
- Appropriate drill bit
- Screwdriver or driver bit
- Fine marker, pencil, or scribe
- Measuring tape or ruler
- Masking tape
- Vacuum or cloth for removing drilling debris
- Safety glasses
Depending on the mounting surface, you may also need self-tapping screws, machine screws with washers and nuts, or other suitable hardware. The Simpl Cradle AMPS mount includes four mounting screws. Always confirm that the included hardware is appropriate for your specific surface.
Safety first: Drilling is a permanent installation method. Check behind the mounting surface before drilling and avoid wiring, HVAC ducts, fuel lines, electrical components, and airbag zones. If you cannot confirm what is behind the panel, consult a qualified installer.
Step 1: Choose the Mounting Location
The right location improves both stability and everyday usability. Select a firm, flat area that can support the base, arm, and device without flexing.
Good locations may include:
- A reinforced section of the dashboard
- A solid center console panel
- A work truck dashboard or equipment panel
- A fleet vehicle partition or utility console
- A workstation or command-center surface
The mount should be close enough to view and operate safely without forcing you to reach away from the driving position. Check that the device will not block:
- The road ahead
- Instrument displays
- Mirrors
- Steering-wheel movement
- Shifter or gear selector access
- Climate controls
- Airbag deployment areas
For professional vehicles, consider how drivers will enter, exit, and use the device throughout the day. A standardized location can make fleet installations easier to replicate across multiple vehicles.

Step 2: Test the Position Before Drilling
Place the AMPS base on the selected surface and temporarily hold the arm and device holder in position. This lets you check reach, screen visibility, and clearance before making permanent holes.
Move the mount through its intended range. Confirm that:
- The phone or tablet can be viewed in portrait and landscape orientation.
- The arm does not contact the steering wheel or controls.
- The device does not interfere with access to storage areas.
- The cable can reach a power source without crossing the driver’s hands or pedals.
- The base sits flat against the mounting surface.
If the device sits too far away, consider adding a compatible extension arm. Mighty Mount’s 3-inch 16mm ball extension arm adds reach while maintaining compatibility with the modular 16mm ball-joint system.
Step 3: Mark the Four AMPS Holes
Once the position is confirmed, use the AMPS base as a drilling template.
- Place the base flat against the surface.
- Align it in the direction you want the arm to extend.
- Hold it firmly or secure it temporarily with masking tape.
- Mark the center of all four mounting holes.
- Remove the base and inspect the marks.
Marking all four holes before drilling helps maintain alignment. Do not estimate the spacing or mark only two holes. The four-point pattern distributes the load and helps prevent twisting, vibration, and unwanted movement.
For additional accuracy, compare the marks with the pre-drilled holes in the plate before proceeding. You can also place a small piece of masking tape over the area and mark on the tape. This protects the finish and makes the drill points easier to see.
Step 4: Drill the Pilot Holes
Select a drill bit that matches your mounting hardware and the material you are drilling.
- For self-tapping screws, use a pilot bit slightly smaller than the screw’s outer diameter.
- For bolts passing through the panel, use a bit that matches the bolt shank.
- For plastic trim, drill slowly and apply light pressure.
- For sheet metal, use a sharp metal-rated bit and avoid excessive force.
Wear safety glasses and keep the drill perpendicular to the surface. Start slowly at each marked point so the bit does not wander. A center punch or awl can help create a small starting point on hard plastic or metal.
Place masking tape behind or around the drilling area where practical to help catch debris. Remove all shavings when finished, especially near vents, switches, screens, and electronic components.
Step 5: Secure the AMPS Plate
Position the AMPS plate over the four pilot holes. Start each screw by hand or with the drill at low speed. Begin all four screws before tightening any of them completely.
Next, tighten the screws gradually in a cross pattern:
- Upper-left corner
- Lower-right corner
- Upper-right corner
- Lower-left corner
This method helps the plate seat evenly. Tighten each screw until the base is firmly flush with the surface. Do not overtighten, especially when installing into plastic, composite trim, or thin sheet metal. Excessive force can strip the hole or damage the panel.
After tightening, gently push the base in several directions. It should feel solid, with no rocking or visible separation from the surface.

Step 6: Attach the Mount Head and Device Holder
With the AMPS plate secured, connect the mount head, ball adapter, or arm according to your product’s instructions.
Mighty Mount products use a 16mm modular ball-joint ecosystem that makes it easier to configure your setup. Depending on the product, you may attach:
- A Simpl Cradle phone holder
- A MagSafe wireless charging head
- A magnetic phone holder
- A heavy-duty iPad or tablet cradle
- An extension arm for additional reach
Seat the ball joint or connector fully, then tighten the adjustment knob until the assembly is secure. If you are installing a tablet holder, confirm that the cradle supports the device and case combination before placing it on the mount.
For exact product-specific instructions, use the installation manual linked on the relevant Mighty Mount product page.
Step 7: Route the Power Cable
If your AMPS mount includes wireless charging, route the cable before finalizing the viewing position.
Keep the cable:
- Away from pedals and moving controls
- Clear of steering-wheel movement
- Away from sharp panel edges
- Tucked along existing trim where possible
- Loose enough to accommodate normal adjustment
- Secured so it does not hang into the driver’s workspace
For the MagSafe wireless charger, connect the included USB-C cable to a suitable vehicle power source. The charger is designed to provide up to 15W wireless charging for compatible phones. Use a reliable power adapter that can support the required output.
Do not pull the cable tightly around the ball joint. Leave enough slack for the mount head to rotate without stressing the connection.
Step 8: Adjust the 360° Viewing Angle
Place your phone or tablet in the holder and adjust the mount for a clear, comfortable view.
Mighty Mount AMPS products are designed for flexible positioning, including 360° adjustment on compatible heads. Set the device so you can see navigation or work information with minimal movement and without blocking your view of the road.
Adjust:
- Height
- Tilt
- Rotation
- Arm reach
- Screen orientation
- Distance from the driver
Once the position is correct, tighten the adjustment knob. The base should remain fixed while the mount head provides the movement you need.
Pro Tips for Different Installations
Dashboard Installations
Choose a reinforced section instead of a thin decorative trim panel. Leave enough space around the plate for a screwdriver and check the underside before drilling. Keep the device low enough to preserve visibility but high enough to read without looking far from the road.
Console Installations
A console can provide a convenient, central position, but check for storage compartments, wiring, shifter movement, and cup-holder access. Test the arm at full rotation before marking the holes.
Work Truck Installations
Work trucks often experience vibration, dust, temperature changes, and rough roads. Use a solid mounting panel, tighten all hardware evenly, and select a holder that matches the device and protective case. The Mighty Mount AMPS iPad holder is designed for professional-grade use in work vehicles and fleet environments.
Fleet Installations
Standardize the mounting location and hardware across vehicles whenever possible. A consistent AMPS setup makes replacements, driver training, and vehicle swaps faster. Mighty Mount’s modular system also allows a fleet to move between phone cradles, charging heads, and tablet holders without redesigning the entire installation.
Final Installation Checklist
Before putting the vehicle into service, confirm:
- ✓ The AMPS plate is flush and firmly secured.
- ✓ All four screws are tight without being stripped.
- ✓ The arm and mount head are fully connected.
- ✓ The device is held securely with its case installed.
- ✓ The cable is routed away from pedals and controls.
- ✓ The screen does not obstruct visibility or airbags.
- ✓ The viewing angle is comfortable in portrait and landscape.
- ✓ The mount remains stable during a gentle shake test.
After several days of driving, inspect the screws and adjustment knobs again. Regular checks are especially important in work trucks and high-mileage fleet vehicles.
Build a More Reliable Vehicle Setup with Mighty Mount
A properly installed AMPS drill base mount delivers a stable, professional foundation for everyday device use. Mighty Mount combines durable hardware, precise adjustment, universal compatibility, wireless charging options, and a modular 16mm ball-joint system to help you build the setup your vehicle requires.
Choose the right holder for your phone or tablet, install the plate carefully, and set your preferred view. View Mighty Mount’s AMPS products to create a secure, hands-free setup built for the journey ahead.