
The biggest thing standing between most homeowners and a permanent Starlink installation isn't the cost or the tech. It's the fear of putting holes in a perfectly good roof.
It's a fair concern. Done carelessly, a roof mount can crack shingles, create leak paths, and turn a weekend project into an insurance claim. Done properly — with the right mount and a few non-negotiable techniques — it's a clean, watertight installation that outlasts the shingles themselves.
Here's how to mount your Starlink Gen 3 / Gen 4 dish on a pitched roof the right way, without damaging a single shingle.
Why Pitched Roofs Need a Purpose-Built Mount
A Starlink dish needs to sit level and sky-facing to hold a stable satellite connection. On a sloped roof, a standard straight mount tilts the dish along with the roofline, forcing the motors to compensate and often leaving the dish fighting its own mounting angle.
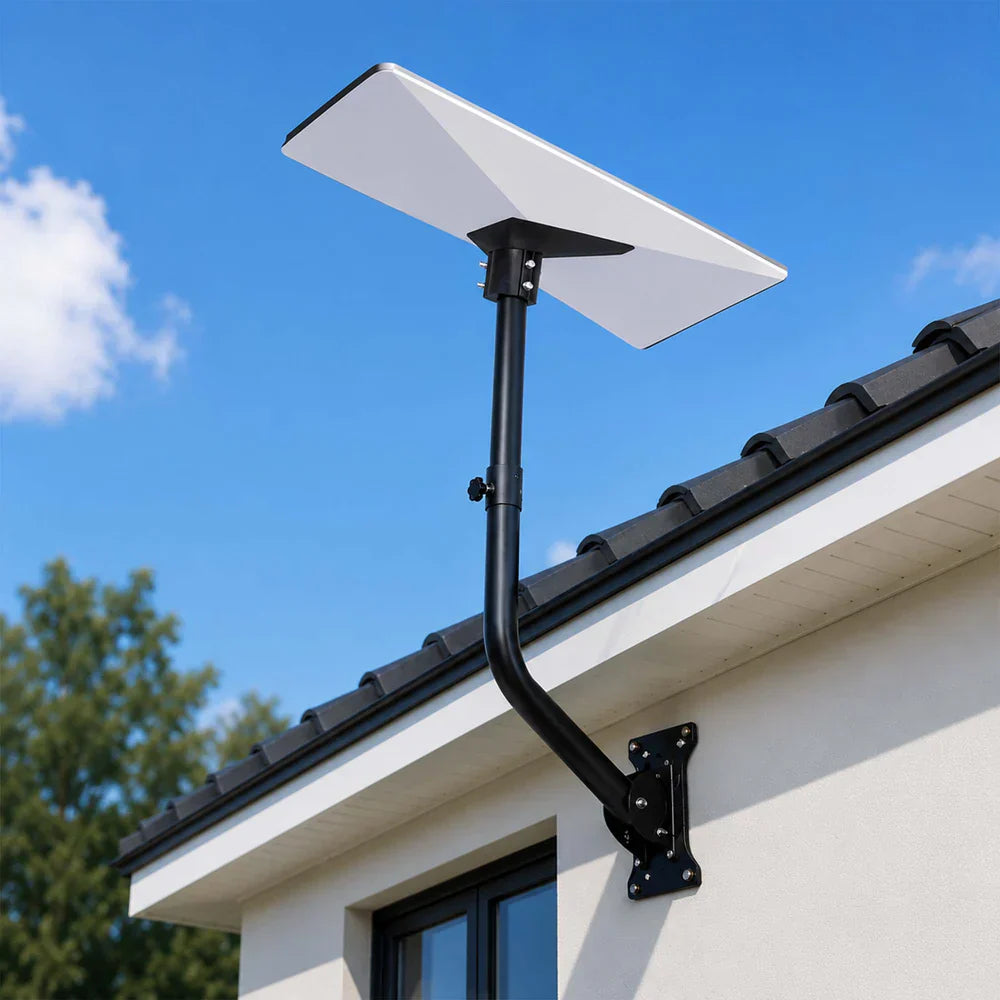
The Mighty Mount Angled/Slanted Roof Mount solves this with a fixed-angle bracket that corrects for roof pitch — supporting most standard residential slopes from 20° to 45° — so the dish sits level and properly oriented regardless of your roofline. It's built from corrosion-resistant metal with weatherproof sealant caps, and it's designed specifically for the Gen 3 / Gen 4 dish on asphalt shingle, metal, or tile roofing.
Getting the mount right is half the battle. The other half is how you install it.

What You'll Need
- Mighty Mount Angled Roof Mount (all mounting hardware is included in the box)
- Cordless drill with appropriate bits
- Stud finder or rafter locator
- Roofing sealant (polyurethane or roofing-grade silicone)
- Tape measure and pencil
- Ladder rated for your weight plus tools, and a helper to foot it
- Optional but recommended: roof safety harness for steeper pitches
A note on safety before anything else: if your roof pitch is steep, your roof is wet, or you're simply not comfortable working at height, hire a professional installer. No internet connection is worth a fall. For most single-storey homes with moderate pitches, a careful DIYer with basic experience can handle this comfortably.
Step 1: Choose the Right Spot on Your Roof
Open the Starlink app and use the obstruction checker to scan the sky from your intended mounting location. You're looking for a position with a wide, unobstructed view — clear of chimneys, trees, and neighbouring rooflines.
Two more things to factor in:
- Cable path. Pick a spot that gives you a sensible route for the cable to enter the house — near an eave, soffit, or exterior wall you're happy to drill through.
- Accessibility. Somewhere you can safely reach again if the dish ever needs attention. The far peak of a three-storey roof is not that place.
Step 2: Find the Rafter — This Is the Step That Protects Your Roof
Here's the single most important rule of shingle-safe mounting: anchor into a rafter, never into shingles and sheathing alone.
Shingles and the thin sheathing beneath them have no structural holding power. Screws driven only into sheathing will work loose with wind load, wallowing out their holes and opening leak paths. A rafter gives your lag screws solid timber to bite into, so the mount stays rigid and the seal stays intact for years.
Locate a rafter from inside your attic if possible, or use a stud finder on the roof surface. Rafters typically run at 400–600mm centres. Mark the rafter's centreline with a pencil and position the mount's base plate over it.
Step 3: Drill Pilot Holes and Seal Before You Screw
Mark your screw positions through the mount's base plate, then drill pilot holes slightly smaller than your lag screws. Pilot holes prevent the timber from splitting and stop shingles from cracking as the screws drive through.
Now the technique that separates a professional install from a leaky one: fill each pilot hole with roofing sealant before driving the screws. As the screw goes in, sealant is drawn down into the hole, waterproofing the penetration from the inside out. Then run a bead of sealant under the base plate itself, so the plate compresses it into a gasket when tightened down.
Drive the lag screws snug — firm, but don't over-torque. Crushing the shingle under the plate does more harm than good. Finish with the mount's weatherproof sealant caps over the screw heads for a final layer of protection.
Step 4: Attach the Dish and Route the Cable
Fit your Gen 3 / Gen 4 dish onto the mount head — the bracket is purpose-designed for this dish generation, so it seats securely without adapters. Thanks to the angled bracket, the dish now sits level despite the slope beneath it.
Route the cable neatly down the roof, clipping it in place rather than leaving it to flap in the wind (wind-whipped cables abrade shingles over time — another quiet form of roof damage worth avoiding). Where the cable enters the house, drill your entry hole at a slight upward angle from outside, feed the cable through, and seal the penetration thoroughly with a grommet and sealant.
Power up, let the dish acquire its satellites, and run a final obstruction check in the app.

Three Mistakes That Damage Roofs (And How to Avoid Them)
- Screwing into shingles only. Always hit the rafter. This is the difference between a ten-year installation and a two-winter leak.
- Skipping sealant, or using the wrong kind. General-purpose silicone breaks down under UV. Use roofing-grade sealant, and seal both the pilot holes and the plate underside.
- Installing in the heat of the day on asphalt shingles. Hot shingles are soft and scar easily underfoot. Work in the cooler morning, step lightly, and place your ladder and body weight thoughtfully.
Frequently Asked Questions
Will this mount work on my roof type?
Yes — the angled roof mount is compatible with asphalt shingle, metal, and tile roofing, provided you use the appropriate anchoring method for the material. For tile, that typically means anchoring through to the batten or rafter beneath and re-seating the tile carefully.
What if my roof is flat or nearly flat?
The angled mount is built for pitched roofs. For flat or low-pitch rooftops, the Straight Pipe Roof Mount Kit is the correct choice — it raises the dish above roofline obstructions with built-in cable management.
Do I need a professional installer?
Basic DIY experience is sufficient for most installations, and all required hardware and instructions come in the box. If you're uncomfortable working at height, professional installation is the smart call.
Is the mount weatherproof?
Yes. It's constructed from corrosion-resistant metal designed for year-round exposure — rain, wind, UV, and temperature extremes included.
What if I want internet away from home too?
A permanent roof mount and a portable setup aren't either/or. Plenty of Starlink owners pair a roof-mounted home installation with the Adjustable Tripod Mount for camping and travel — same dish, two homes for it.
A Roof Mount Should Outlast the Weather - Not Fight It
Mounted into a rafter, sealed properly, and corrected for pitch, your Starlink dish becomes a permanent fixture you never think about again — exactly what home internet should be.
Shop the Mighty Mount Angled/Slanted Roof Mount →
Everything you need to install comes in the box. The only thing you bring is a careful afternoon.